How to Implement Google Consent Mode v2
Part 1 of 4 in the series Wiring consent correctly
Contents
For anyone operating within the European Economic Area (EEA) or handling data from European users, Google Consent Mode v2 is no longer a “nice-to-have” feature—it is a strict requirement as of March 2024. Driven by the Digital Markets Act (DMA), Google has fundamentally changed how its advertising and analytics platforms process data.
Failing to implement Consent Mode v2 means bidding farewell to remarketing capabilities and watching conversion tracking severely degrade. As data architects, our goal is to maintain data fidelity while strictly adhering to privacy protocols. Here is a deep dive into why Consent Mode v2 matters, how it impacts the GMP stack, and how to implement it correctly.
Why is Consent Mode v2 So Crucial?
At its core, Consent Mode bridges the gap between user privacy choices and the data collection systems. When a user interacts with the cookie banner, Consent Mode communicates their choices (granted or denied) to Google’s tags.
The introduction of v2 brought two critical new parameters specifically targeting advertising:
ad_user_data: Sets consent for sending user data to Google for advertising purposes.ad_personalization: Sets consent for personalized advertising (remarketing).
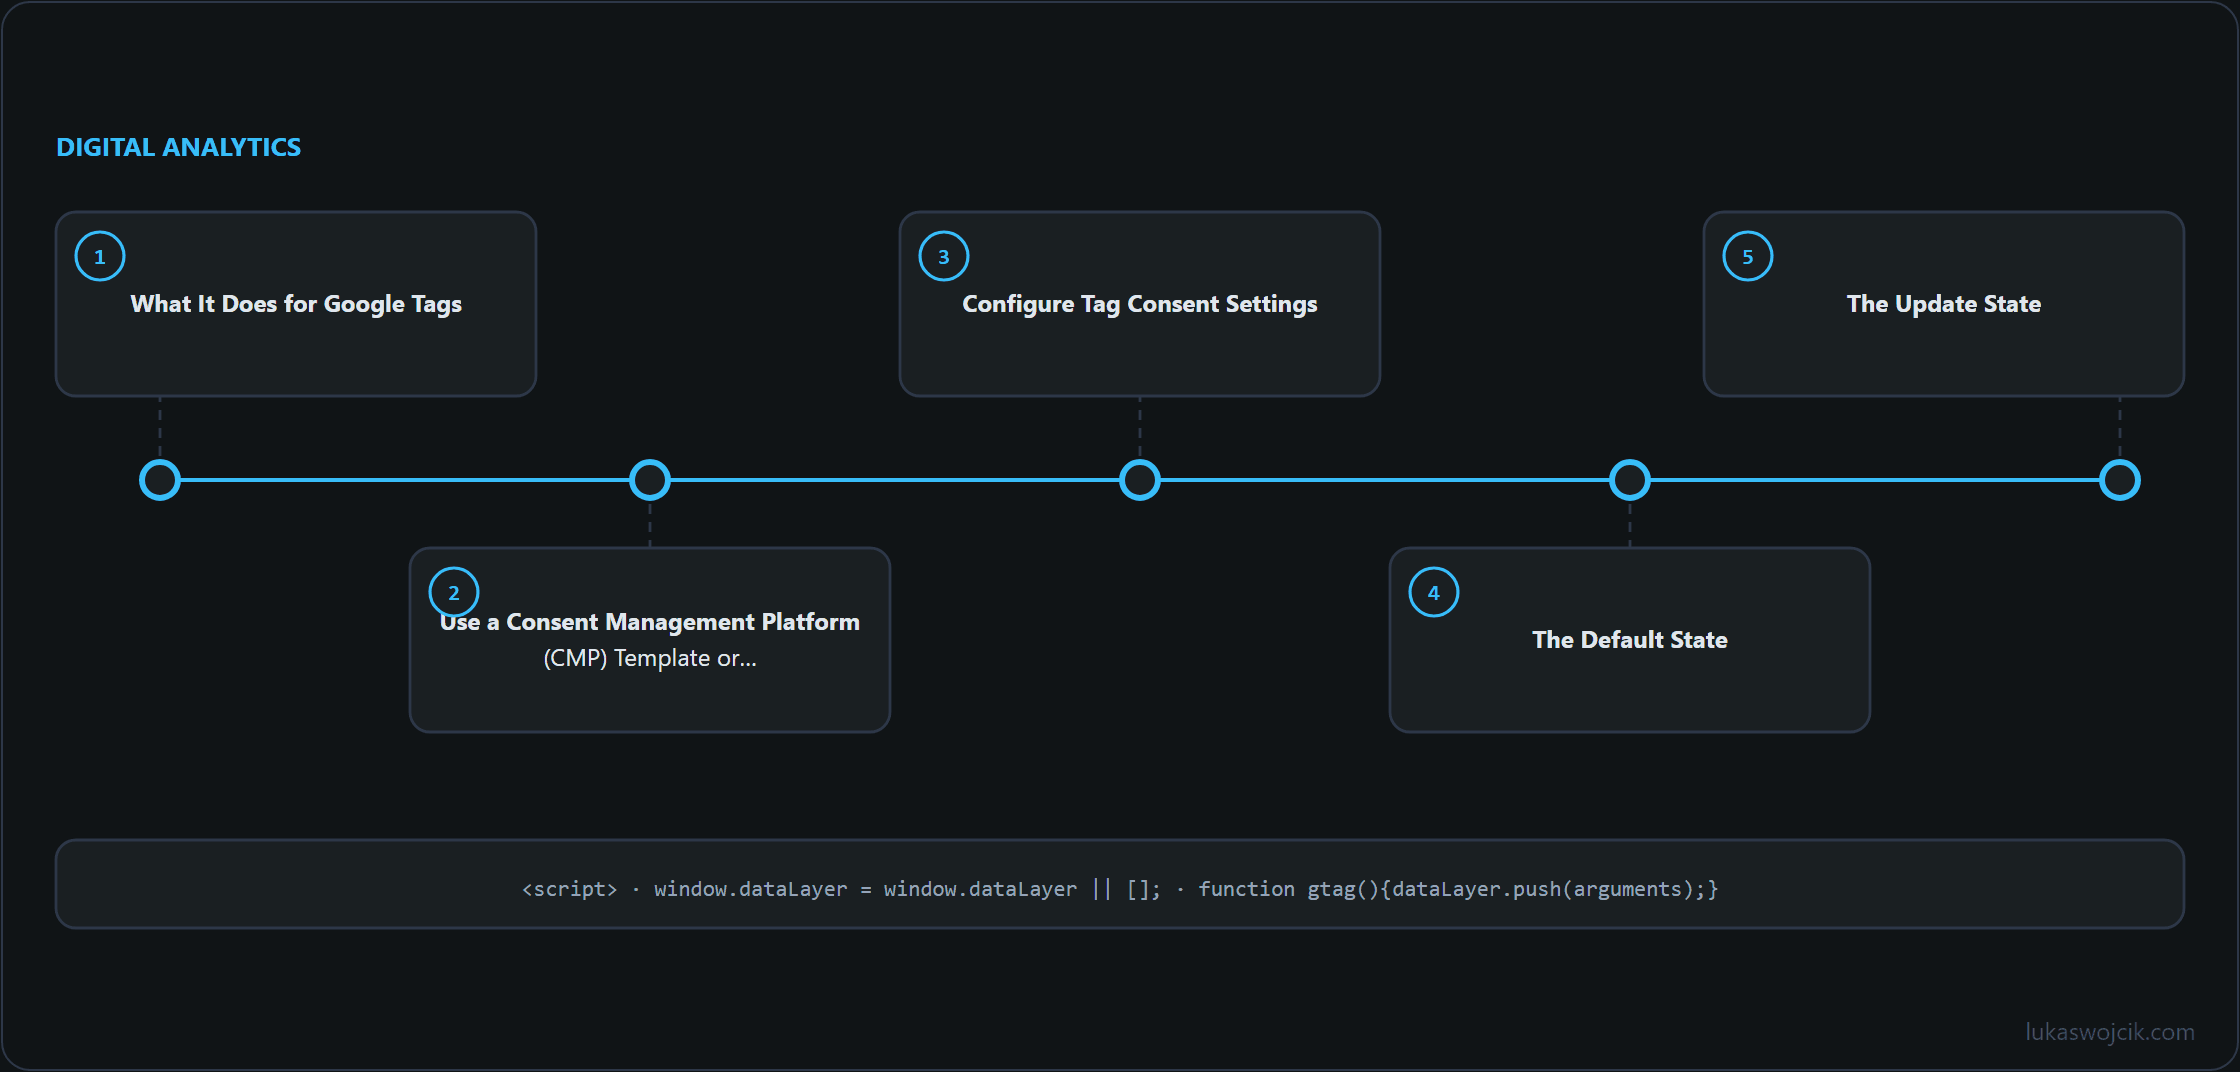
What It Does for Google Tags (Ads, Floodlights, SA360, GA4)
When properly configured in Advanced Consent Mode, tags load before the user makes a choice, but they drastically change their behavior based on the consent state:
- Google Analytics 4 (GA4): If
analytics_storageis denied, GA4 stops reading or writing cookies. Instead, it sends cookieless “pings.” GA4 then uses machine learning to bridge the gap through Behavioral Modeling, which surfaces estimated user journeys without compromising privacy. - Google Ads & SA360: If
ad_storageorad_user_datais denied, advertising tags send cookieless conversion pings. Google’s engine then utilizes Conversion Modeling to recover lost conversions, ensuring ROAS calculations and automated bidding algorithms don’t collapse. - Floodlights (Campaign Manager 360): Similar to Google Ads, Floodlight tags respect the consent state, utilizing aggregate data and modeling to attribute conversions accurately across display and video campaigns without relying on third-party cookies.
Without v2, Google will simply drop unconsented data, crippling measurement and audience building.
Method 1: Implementing via Google Tag Manager (GTM)
For most setups, GTM is the cleanest way to manage consent. It acts as the central nervous system for the tracking architecture.
Step 1: Enable Consent Overview
- Go to the GTM Workspace.
- Navigate to Admin > Container Settings.
- Check the box for Enable consent overview. This unlocks a shield icon in the Tags view, which makes consent settings easy to manage across all tags.
Step 2: Use a Consent Management Platform (CMP) Template or a Consent Mode Template
Instead of building a custom logic, utilize a certified CMP (like Cookiebot, OneTrust, or CookieYes) from the GTM Community Template Gallery.
- Add the CMP template to the workspace.
- Configure it with the CMP ID.
- Set the trigger to Consent Initialization – All Pages. This is a special trigger that fires before standard Page Views, ensuring consent defaults are set before any Google Tags fire.
If the CMP is implemented directly into the website, I recommend using the Template “gtm-templates-simo-ahava” from Simo Ahava as it is always up to date and brings the best functionality.
For Consent Mode to work, add two instances of the Template as Tags.
- Default Tag: Fire on Consent Initialization – All Pages and set up everything to “Denied”.
- Update Tag: Fire on Consent Update from the CMP. Set the Parameters accoring the user’s choices.
Step 3: Configure Tag Consent Settings
Google Tags (GA4, Google Ads) have built-in consent checks. There is no need to block them from firing. Instead:
- Open the GA4 or Google Ads tag.
- Go to Advanced Settings > Consent Settings.
- Ensure it requires
ad_storageand/oranalytics_storage. - The tag will handle the rest—firing normally if granted, or sending cookieless pings if denied.
Method 2: Implementing via Vanilla JavaScript (Directly)
For a custom, highly optimized frontend or a Single Page Application (SPA) where GTM is too heavy, implementing Consent Mode directly via vanilla JS is the way to go.
This requires two distinct steps: setting the Default state before tags load, and sending an Update state when the user interacts with the banner.
1. The Default State (Place in <head>)
This script must execute before the global site tag (gtag.js). It tells Google to assume everything is denied by default (for EEA users).
<script>
  // Initialize the dataLayer
  window.dataLayer = window.dataLayer || [];
  function gtag(){dataLayer.push(arguments);}

  // Set default consent to 'denied' for all parameters
  gtag('consent', 'default', {
    'ad_storage': 'denied',
    'ad_user_data': 'denied',
    'ad_personalization': 'denied',
    'analytics_storage': 'denied',
    'wait_for_update': 500 // Gives the CMP 500ms to load before tags fire
  });
</script>

<!-- Now load your standard gtag.js script below this -->
<script async src="https://www.googletagmanager.com/gtag/js?id=G-XXXXXXXXXX"></script>
<script>
  window.dataLayer = window.dataLayer || [];
  function gtag(){dataLayer.push(arguments);}
  gtag('js', new Date());
  gtag('config', 'G-XXXXXXXXXX');
</script>
2. The Update State (Triggered by User Action)
When the user clicks “Accept” (or customizes their choices) on the cookie banner, that event has to be captured and pushed as an update to the dataLayer.
Here is an example of an event listener attached to a custom banner’s “Accept All” button:
document.getElementById('btn-accept-all').addEventListener('click', function() {

  // Push the updated consent state to Google
  gtag('consent', 'update', {
    'ad_storage': 'granted',
    'ad_user_data': 'granted',
    'ad_personalization': 'granted',
    'analytics_storage': 'granted'
  });

  // Hide the banner and save the preference in your own local cookie
  document.getElementById('cookie-banner').style.display = 'none';
  setCookie('user_consent_saved', 'true', 365);
});
If necessary, adjust the ID of the Button “btn-accept-all”.
Summary
Implementing Google Consent Mode v2 is the definitive way to future-proof the digital analytics and advertising infrastructure. Whether deploying through GTM’s streamlined interface or hardcoding it via vanilla JavaScript for maximum performance, setting proper default and update states ensures legal compliance while empowering Google’s machine learning to recover lost data.
Wiring consent correctly
Related articles