How to Automate Raspberry Pi Backups to a UniFi NAS
Contents
Anyone running self-hosted services, home automation, or custom web applications on a Raspberry Pi knows its Achilles’ heel: the microSD card. SD cards are prone to corruption, especially with heavy database read/write cycles.
To build a truly resilient architecture, the data cannot live solely on the Pi. It needs to be offloaded to a redundant, enterprise-grade storage solution. In this guide, we will walk through setting up a fully automated, daily backup from a Raspberry Pi directly to a Ubiquiti UNAS Pro.
We will build a script that targets specific critical directories and performs a complete mysqldump of the databases, compressing everything neatly into daily archives.
Step 1: Prepare the UNAS Pro
Before the Raspberry Pi can send data, the UNAS Pro needs to be ready to receive it.
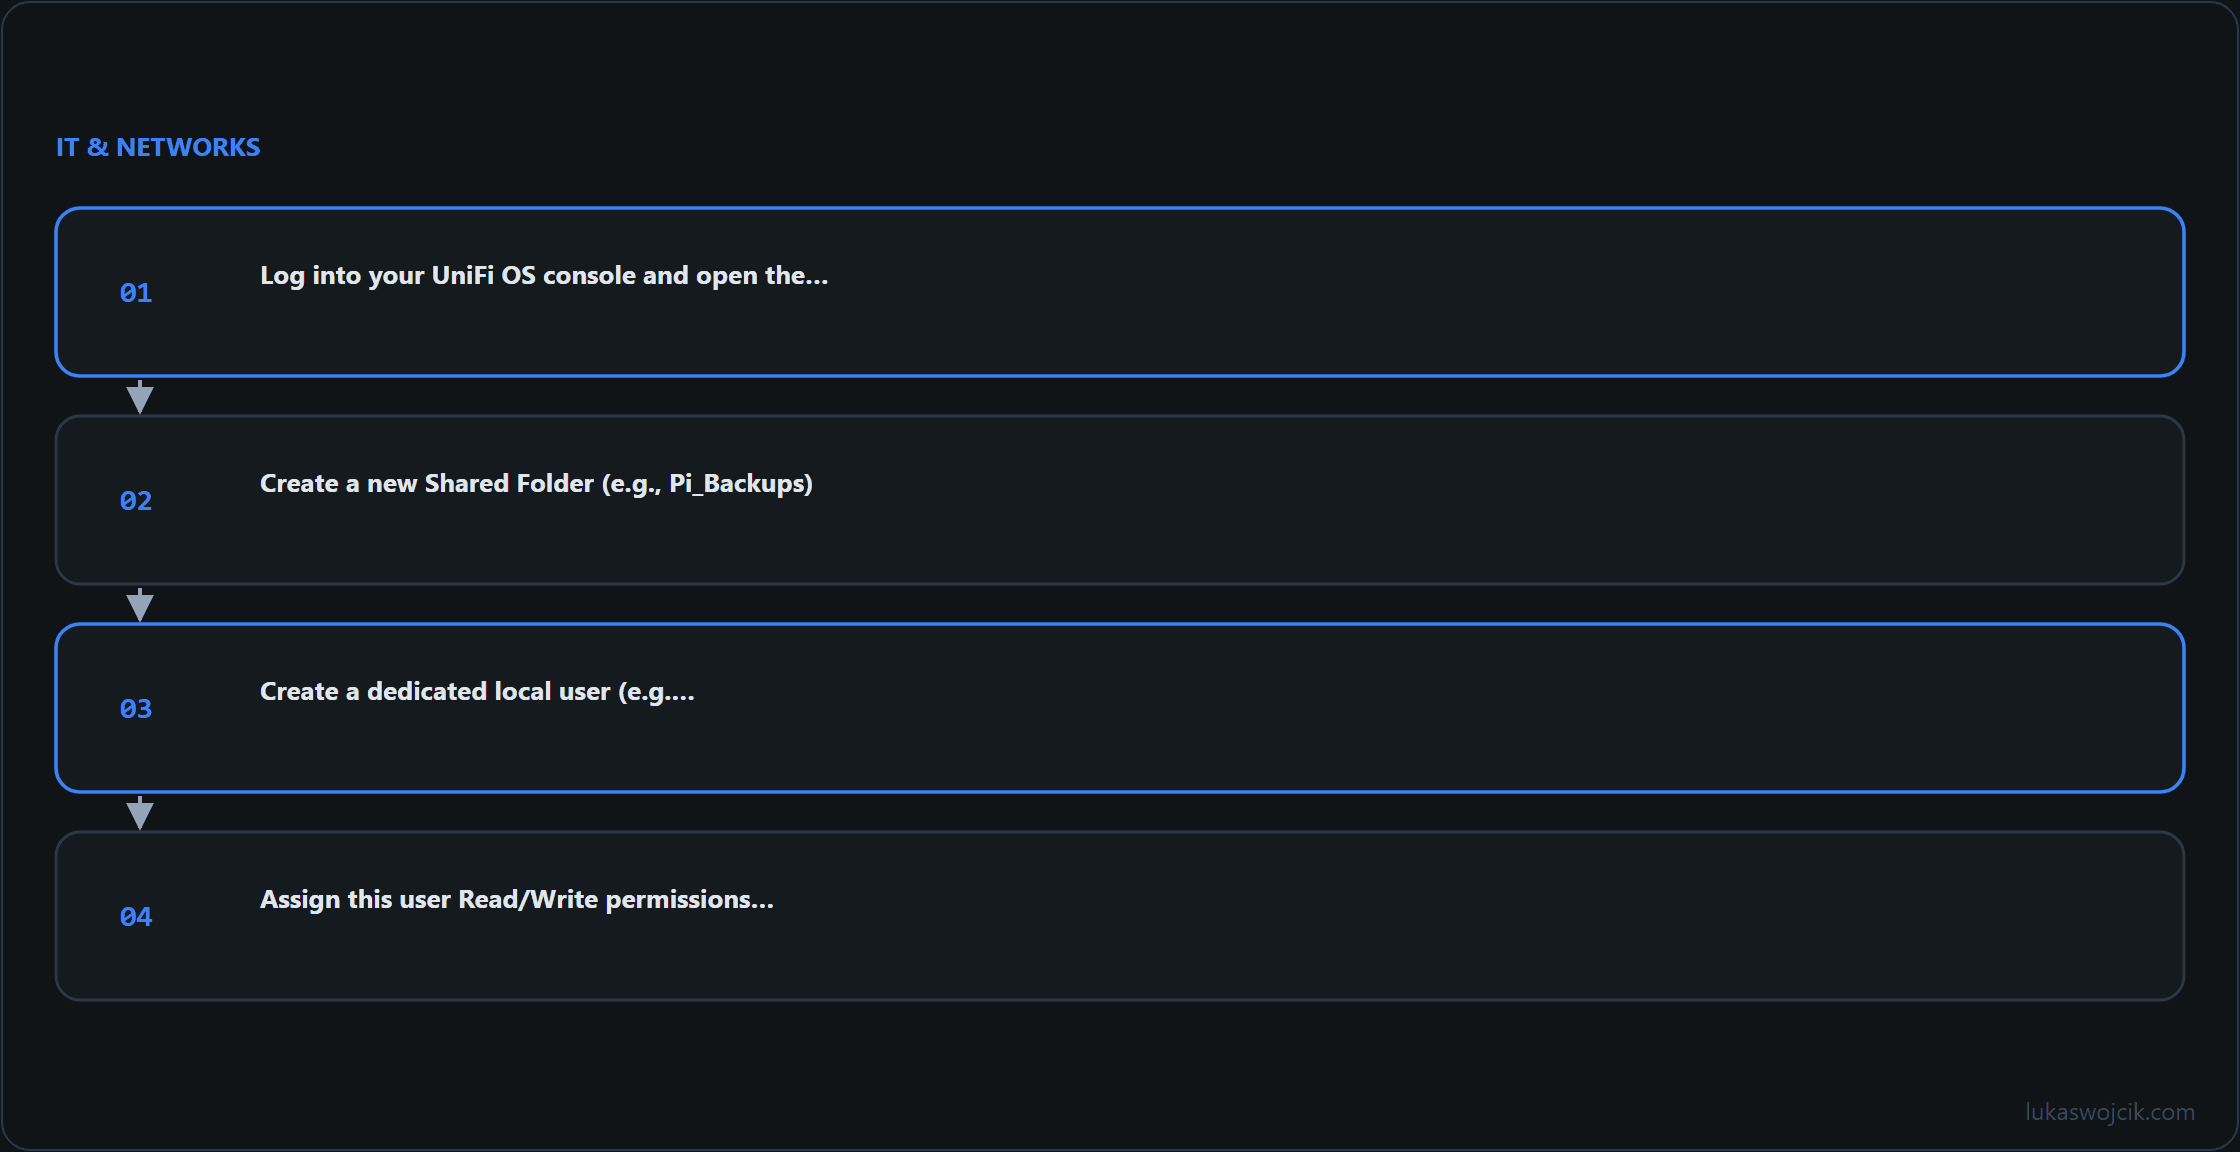
- Log into the UniFi OS console and open the Storage / NAS application.
- Create a new Shared Folder (e.g.,
Pi_Backups). - Create a dedicated local user (e.g.,
backup_user) with a strong password. - Assign this user Read/Write permissions specifically to the
Pi_Backupsfolder. - Ensure SMB (Server Message Block) is enabled for this share.
Step 2: Mount the UNAS Pro on the Raspberry Pi
We need the Raspberry Pi to treat the UNAS Pro network share as if it were a local physical drive. We will achieve this using cifs-utils.
1. SSH into the Raspberry Pi.
2. Install the necessary utilities:
sudo apt update
sudo apt install cifs-utils
3. Create a local mount point:
sudo mkdir -p /mnt/unas_backup4. Create a hidden credentials file so the UNAS Pro password isn’t exposed in plain text in the system configuration:
sudo nano /etc/.unas_credsAdd the following lines (replace with the UNAS Pro IP and user details):
username=backup_user
password=YourStrongPassword
domain=WORKGROUP
Secure the file:
sudo chmod 600 /etc/.unas_creds5. Edit the /etc/fstab file to ensure the NAS mounts automatically on boot:
sudo nano /etc/fstabAdd this line to the bottom:
//192.168.1.XXX/Pi_Backups /mnt/unas_backup cifs credentials=/etc/.unas_creds,uid=1000,gid=1000,iocharset=utf8 0 06. Mount the drive to test it:
sudo mount -aStep 3: Secure the MySQL Credentials
To allow our script to perform a mysqldump without prompting for a password (which would break automation), we need to store the database credentials securely.
1. Create a MySQL configuration file for the root user:
nano ~/.my.cnf2. Add the database credentials:
[client]
user=root
password=YourDatabasePassword
3. Secure the file:
chmod 600 ~/.my.cnfStep 4: Write the Backup Script
Now we will create the bash script that handles the heavy lifting: exporting the database, compressing specific folders, and cleaning up old backups to prevent the UNAS Pro from filling up completely.
1. Create the script file:
nano ~/pi_backup.sh2. Paste the following code. (Make sure to modify the TARGET_FOLDERS to point to the actual directories that need backing up, like /etc or /var/www):
#!/bin/bash

# Define variables
BACKUP_DATE=$(date +"%Y-%m-%d")
NAS_MOUNT="/mnt/unas_backup"
DEST_DIR="$NAS_MOUNT/$BACKUP_DATE"

# Define the folders you want to backup (separated by spaces)
TARGET_FOLDERS="/var/www/html /etc/nginx /home/pi/docker-data"

# Check if NAS is mounted before proceeding
if ! mountpoint -q $NAS_MOUNT; then
    echo "Error: UNAS Pro is not mounted at $NAS_MOUNT"
    exit 1
fi

# Create today's backup directory
mkdir -p "$DEST_DIR"

# 1. Database Backup (mysqldump)
echo "Starting MySQL backup..."
mysqldump --all-databases | gzip > "$DEST_DIR/db_backup_$BACKUP_DATE.sql.gz"

# 2. File/Folder Backup (tar compression)
echo "Starting file backup..."
tar -czf "$DEST_DIR/files_backup_$BACKUP_DATE.tar.gz" $TARGET_FOLDERS

# 3. Cleanup: Remove backups older than 14 days
echo "Cleaning up old backups..."
find "$NAS_MOUNT" -mindepth 1 -maxdepth 1 -type d -mtime +14 -exec rm -rf {} \;

echo "Backup completed successfully!"
3. Make the script executable:
chmod +x ~/pi_backup.shStep 5: Automate with Cron
The final piece of the architecture is scheduling the script to run automatically every single day. The middle of the night is usually best to avoid resource contention.
1. Open the cron table:
crontab -e2. Add the following line to the bottom to run the backup every day at 2:00 AM:
0 2 * * * $HOME/pi_backup.sh > $HOME/backup_log.txt 2>&1Summary
That completes a robust, automated disaster recovery plan. Every night at 2:00 AM, the Raspberry Pi dumps its entire database, compresses the essential configuration and application folders, and securely transfers them over the network to the Ubiquiti UNAS Pro. Archives older than two weeks are pruned automatically, so the storage stays optimized.
Related articles