English
 Deutsch
 Polski
How to Safely Host Public Servers on a UniFi Network

Contents
Hosting a public accesible server—like a Raspberry Pi running a web server, Nextcloud, or a custom application—is a great way to take control of one’s own data. However, exposing a device on the local network to the internet introduces significant security risks. If that Raspberry Pi gets compromised, a flat network architecture gives the attacker a free pass to the personal computers, NAS, and smart devices behind it.
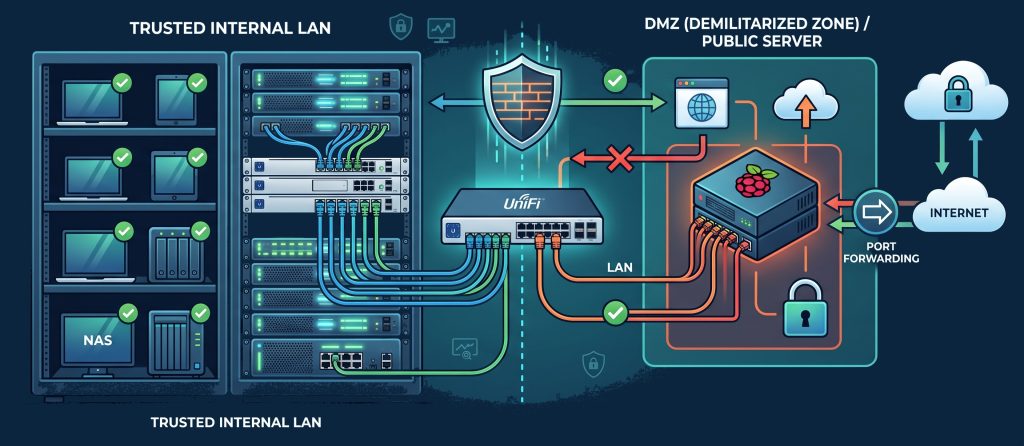
The solution is Network Separation using VLANs (Virtual Local Area Networks). In a proper Demilitarized Zone (DMZ) architecture, the Raspberry Pi should be accessible from the internet and from the trusted internal network, but the Pi itself must be completely blocked from initiating connections to those trusted devices.
Here is a technical deep dive into setting up this architecture using Ubiquiti’s UniFi ecosystem, highlighting the differences between the legacy firewall approach and the modern Zone-based setup.
The Objective
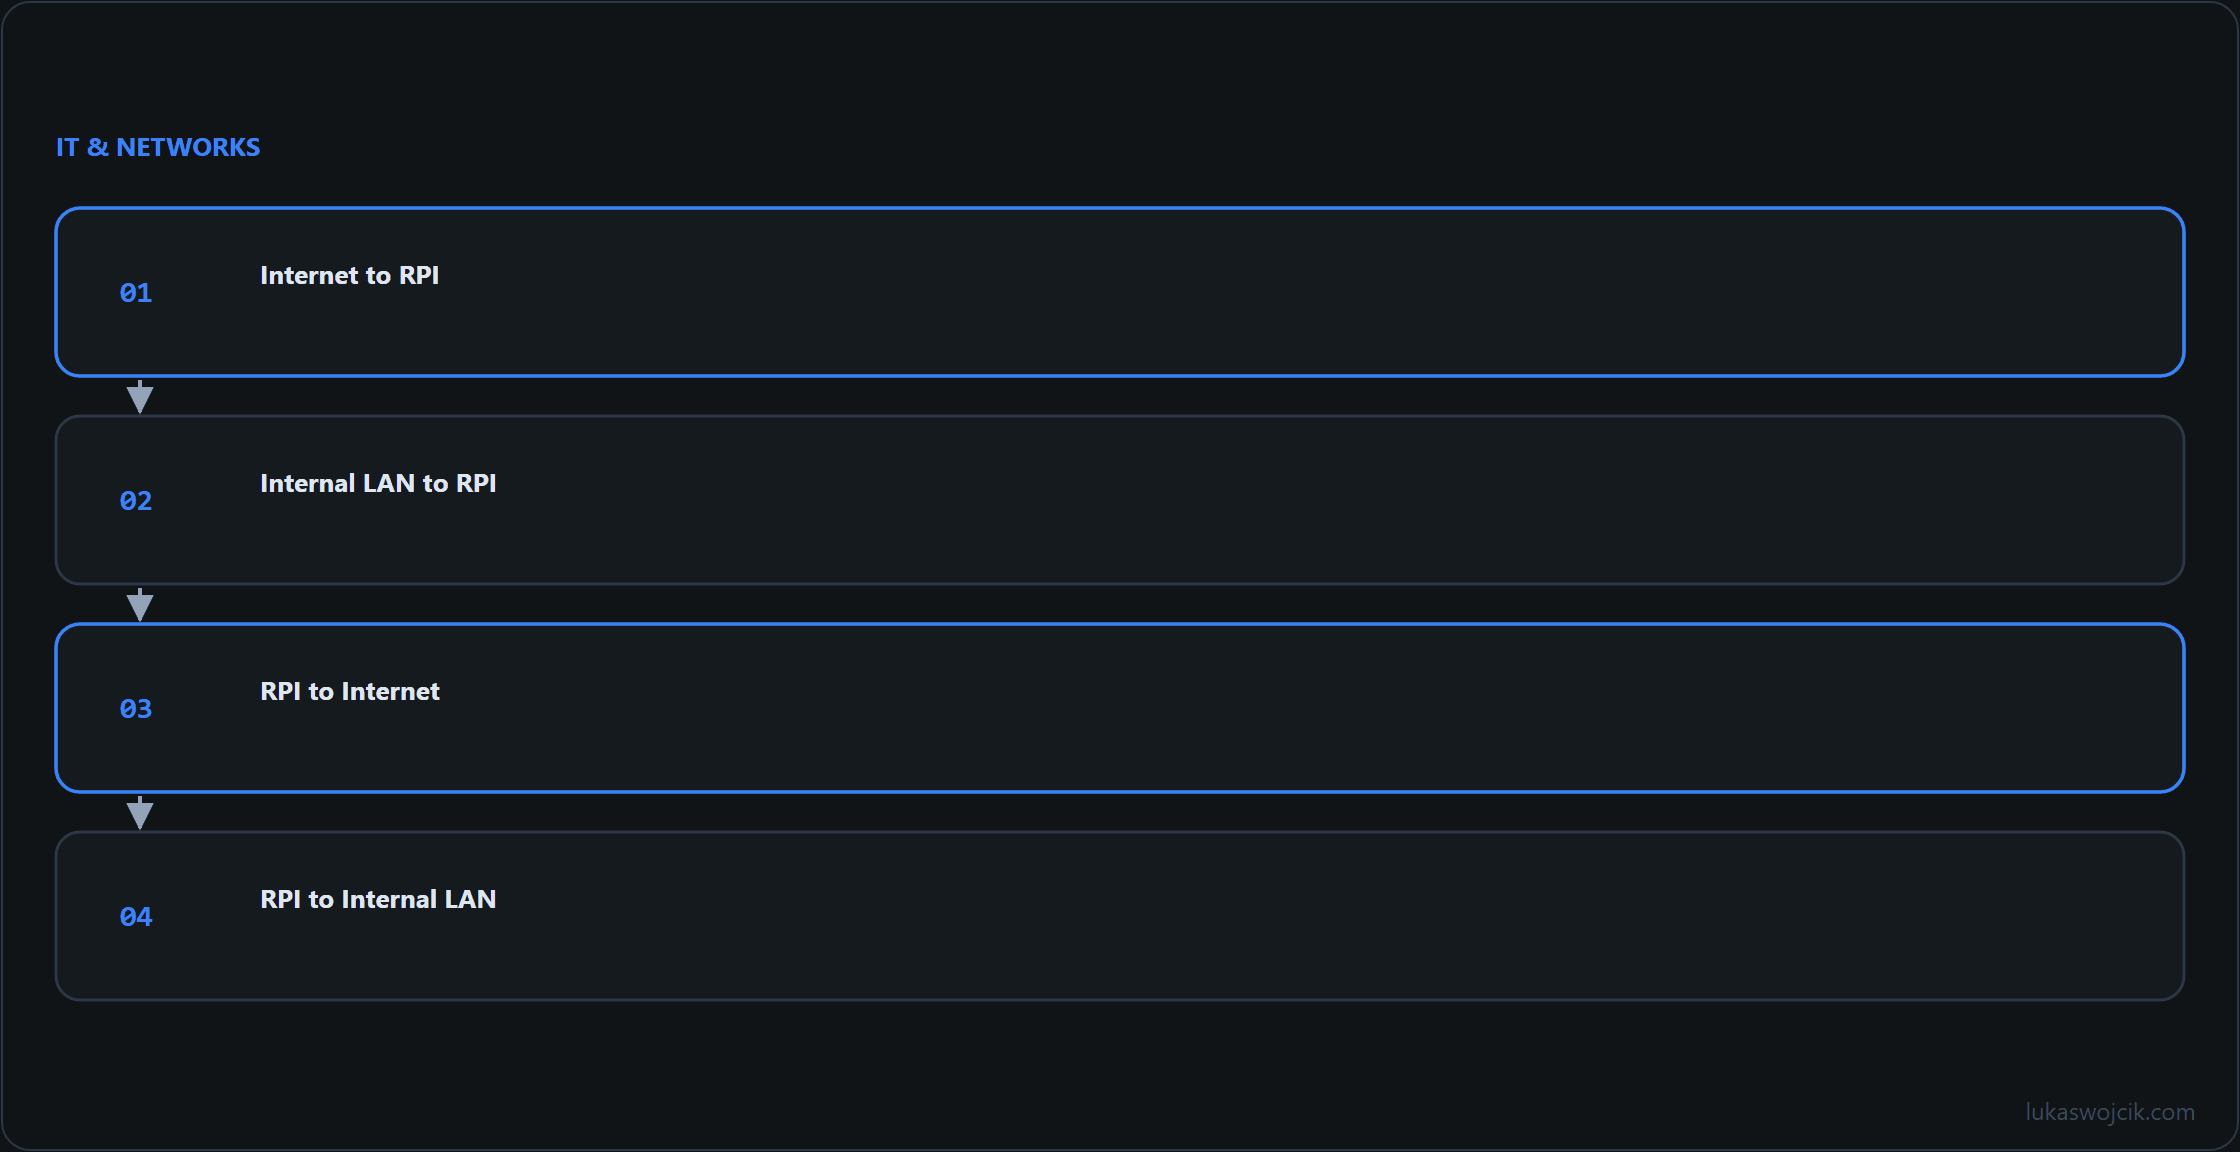
Before diving into the configuration, let’s define the exact traffic flow requirements for the Raspberry Pi (RPI) residing on a dedicated VLAN (e.g., VLAN 50 – DMZ):
- Internet to RPI: Allowed (restricted to specific forwarded ports like 80/443).
- Internal LAN to RPI: Allowed, for SSH management and access to internal dashboards.
- RPI to Internet: Allowed (for software updates and outbound API calls).
- RPI to Internal LAN: Strictly Blocked (to contain any potential breaches).
The “Old” Setup: Legacy Firewall Rules (LAN IN)
Before Ubiquiti revamped its firewall interface, network separation required a deep understanding of iptables-style packet flow—specifically the LAN IN, LAN OUT, and LAN LOCAL chains.
Isolating the Raspberry Pi VLAN with the old method meant manually stacking rules in the LAN IN tab (which governs traffic entering the router from a local network before it gets routed elsewhere).
Here is how the legacy rule sequence looked:
- Rule 1: Allow Established and Related Traffic
- Action: Accept
- Protocol: All
- States: Checked “Established” and “Related”
- Source: Any
- Destination: Any
- Why? This ensures that when a trusted PC initiates an SSH connection to the RPI, the RPI’s reply traffic is allowed back through the firewall.
- Rule 2: Drop DMZ to Trusted LAN
- Action: Drop
- Protocol: All
- Source: Network -> DMZ VLAN (the RPI’s network)
- Destination: Network -> Trusted LAN (or an RFC1918 IP Group containing all private subnets)
- Why? This is the kill switch. Because it sits below Rule 1, the RPI can reply to incoming requests, but any new connection the RPI attempts to make into the private network is forcefully dropped.
While effective, this method was prone to user error. A simple mistake in rule ordering or misunderstanding the difference between LAN IN and LAN LOCAL often resulted in broken setups or false senses of security.
The “New” Setup: Zone-Based Traffic Rules
With UniFi Network 9.0, Ubiquiti introduced a modern zone-based firewall. It replaced the separate views for Firewall Rules and Traffic Rules as the place where network separation is configured; existing rules are converted into zone policies during the migration. This shift abstracts away the complex routing chains (LAN IN/OUT) and focuses on intent-based networking.
Instead of thinking about how packets traverse the router’s internal interfaces, policies are defined between zones. A zone is not a single network but a group of networks and interfaces: the DMZ VLAN goes into a DMZ zone, the trusted networks into an internal zone, and a policy then selects a source zone and a destination zone. The steps below refer to UniFi Network 10.4 (as of August 2026).
Here is how the exact same isolation works in the modern UniFi interface:
- Open Settings > Policy Engine and switch to the zone matrix (in UniFi Network 9.x this section was located under Settings > Security).
- Assign the networks to zones: the DMZ VLAN to a DMZ zone, the trusted networks to an internal zone.
- In the matrix, open the cell where the source zone DMZ meets the destination zone Internal and create a policy there.
- Action: Block (or Reject, if the sender should receive an error message instead of a silent drop)
- Source: zone DMZ, narrowed down to the Raspberry Pi if required
- Destination: zone Internal, narrowed down to the networks that need protecting if required
- Save the policy. The opposite direction, Internal to DMZ, has its own cell in the matrix and stays allowed.
The Magic of Zones: Under the hood, the UniFi controller automatically handles the stateful inspection. It inherently knows to allow “Established and Related” traffic without a dedicated rule. Trusted devices can still talk to the Raspberry Pi, but if the Pi gets compromised and tries to ping the NAS, the Zone rule acts as a brick wall. This makes the configuration significantly cleaner, highly readable, and much less error-prone.
A Note on Port Forwarding
Once the Raspberry Pi is securely isolated in its own VLAN, it still has to be reachable from the outside world. Historically, enterprise firewalls required a manually created Destination NAT (DNAT) rule and a corresponding WAN IN firewall rule to allow the traffic through.
Ubiquiti makes this incredibly streamlined.
To expose the web server:
- Go to Settings > Policy Engine > Port Forwarding (path as of UniFi Network 10.4).
- Click Create New Port Forwarding Rule.
- Define the Port (e.g., 443 for HTTPS).
- Input the Forward IP (the static IP of the Raspberry Pi).
That is it. The UniFi controller automatically provisions the necessary NAT translations and dynamically injects the WAN IN firewall rules to allow external traffic to reach that specific port on the isolated VLAN. The public-facing server is now online and safely compartmentalized from the private network.
Questions and answers
Why does a Pi in the DMZ still get DNS answers and a DHCP lease when a policy blocks DMZ to Internal?
The policy does apply. What it does not cover is the gateway itself.
DNS and DHCP requests from the Pi are not addressed to a device in the trusted network. They are addressed to the router, which lives in its own zone rather than in Internal. A block from DMZ to Internal therefore leaves them untouched, which is why the setup keeps working and why the block looks inactive at first glance. The legacy equivalent was the separation between LAN IN and LAN LOCAL, and it survived the migration to zones under a different name.
Two consequences follow. The block is real, so a test has to target an actual host in the trusted network, not a name resolved by the gateway; a plain connection attempt to the NAS is the honest probe. And if traffic to the gateway is supposed to be restricted as well, that is a second policy against the gateway zone, decided separately: locking it down entirely also removes DHCP, and the Pi then holds its address only until the lease expires.
Related articles